Blog
Torque It Right: Installation Best Practices for Trail-Hardened Wheels
Proper wheel installation is essential for off-road safety and performance. By following the R.I.S.T. Method – remove debris, inspect components, snug the lug nuts, and torque to spec – you help prevent loosening, stud damage, and vibration on the trail. It’s the simplest way to make sure your trail-hardened wheels stay secure, balanced, and ready for any terrain.
At Vortek Off-Road, we know you want to get out there and “Conquer Every Terrain,” but the connection between your new wheels and your vehicle is the single most critical safety factor in your build. If that connection fails, it doesn’t matter how strong our engineering is or how much traction your tires have.
Today, we are going to talk about torque. It’s a topic that gets overlooked way too often in home garages and even in some professional shops. We are going to break down exactly how to install your new wheels the right way so that when you are ten miles deep into a trail, the only thing you have to worry about is picking the right line.
What Torque Actually Is?
A lot of people think torque just means “tightness.” If you crank on the lug nut until your veins pop, that’s torqued, right? Not exactly.
Torque is actually a measurement of rotational force. When you apply torque to a lug nut, you aren’t just stopping it from falling off. You are actually stretching the wheel stud slightly, like a very stiff spring. This stretching creates what engineers call “clamping force.”
Think of the stud like a heavy-duty rubber band. You need to stretch it just enough so that it pulls the wheel tight against the hub and holds it there under pressure.
If you under-torque the nut, the “rubber band” isn’t stretched enough. There isn’t enough clamping force, and the wheel can wiggle loose. If you over-torque the nut, you stretch that “rubber band” too far. It might snap (sheared stud), or it might not be able to bounce back, permanently weakening the metal.
Why Torque Matters More for Trail-Hardened Wheels?
If you were driving a lightweight sedan to the grocery store on smooth asphalt, torque is still important, but the stakes are a little lower. But you aren’t driving a sedan, and you certainly aren’t sticking to smooth pavement.
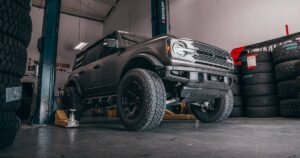
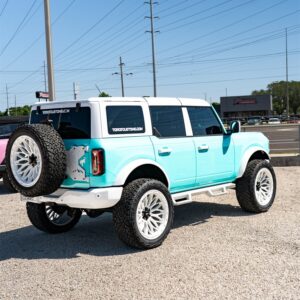
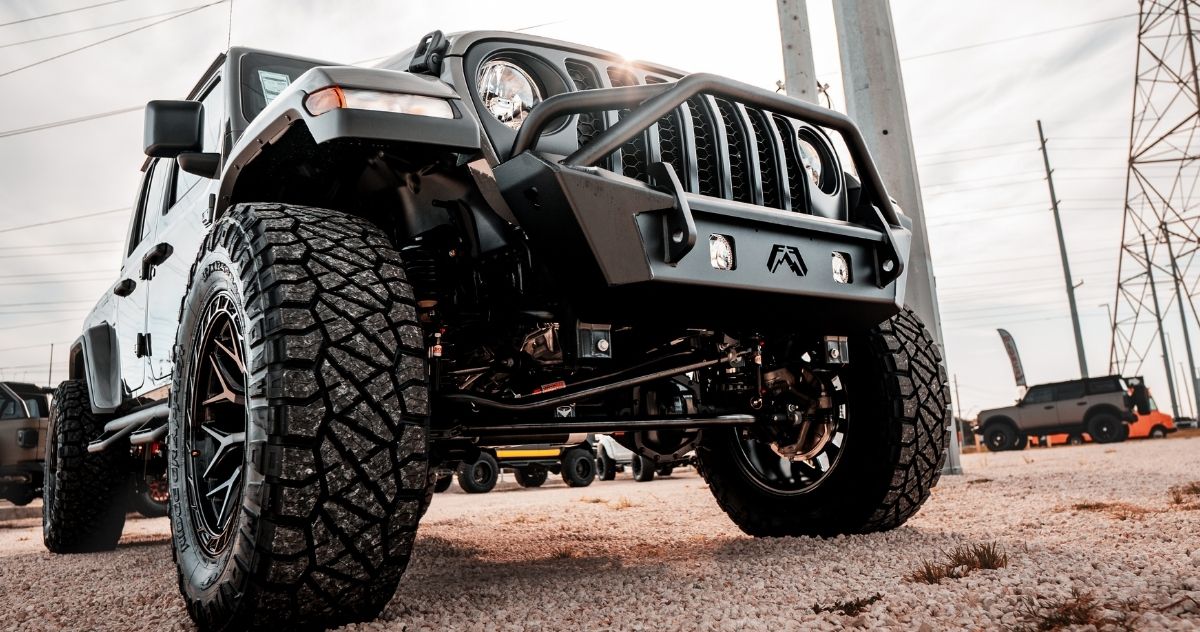
You are driving a rig equipped with off-road wheels designed for rugged durability. You are taking that vehicle over washboard roads, slamming it down off rock ledges, and powering through thick, sucking mud.
Off-roading subjects your wheels to forces that a standard commuter car never sees. We’re talking about intense vibration, sudden impact shocks, and massive lateral (side-to-side) loads when you are cornering or off-camber.
These forces are constantly trying to break the friction between the wheel and the hub. They are actively trying to loosen your lug nuts. If your torque specs aren’t dialed in perfectly, that vibration will win eventually. Proper torque is the only thing keeping your wheels attached when the trail gets rough.
Why Larger Off-road Wheels And Heavier Tires Demand Accurate Torque?
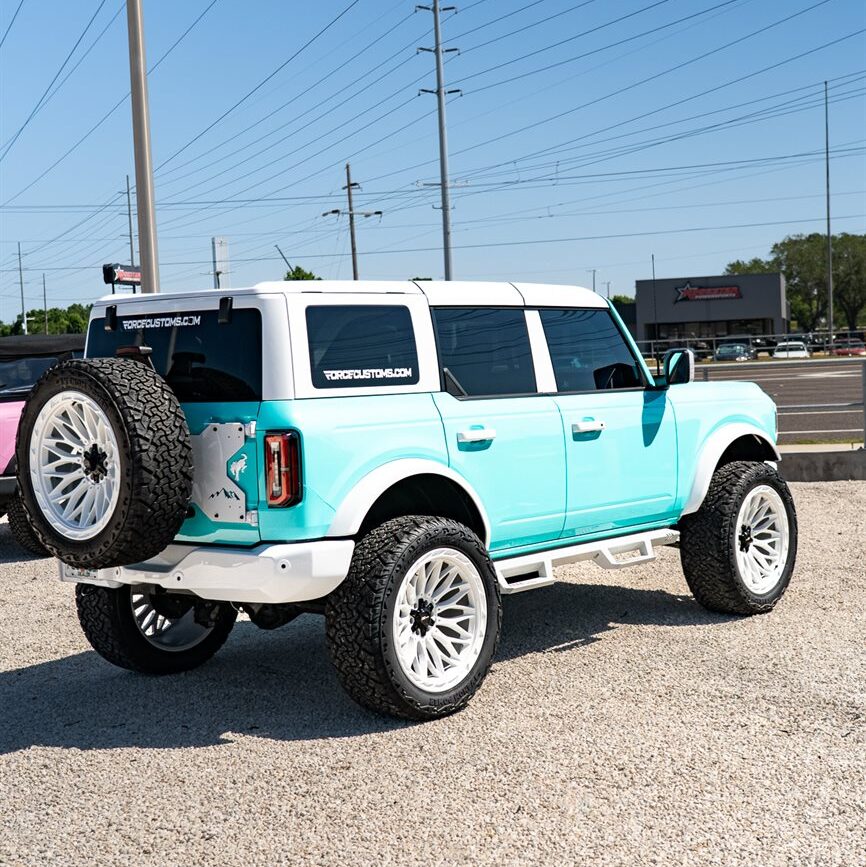
When you upgrade to a set of Vorteks, you are usually pairing them with larger, more aggressive all-terrain or mud-terrain tires. Maybe you’re running 35s, 37s, or even 40s.
That setup is heavy.
The physics here are simple but important. A larger, heavier tire creates more rotating mass. When you hit the brakes, there is more force trying to keep that wheel spinning. When you hit the gas, there is more resistance. And when you hit a bump, there is a lot more unsprung weight hammering up and down.
All of that extra energy is transferred through one place: the lug studs. Because the tire diameter is larger, the leverage placed on the hub is also greater. It’s like using a longer wrench; it’s easier to apply force. In this case, the “force” is the trail trying to twist the wheel off the hub.
If your torque is uneven or insufficient, that extra leverage from your big tires will exploit the weakness immediately. This is why a “good enough” installation job might work for stock tires but fail completely on a modified rig.
Why is Torque Critical for Off-Road Builds?
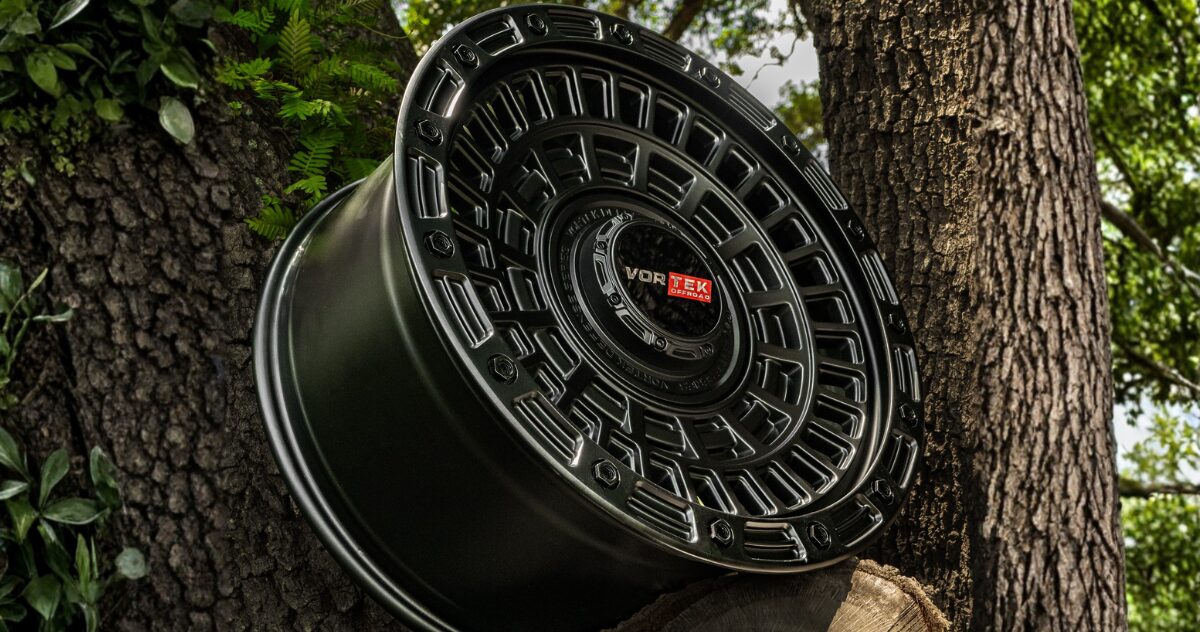
We design Vortek wheels to handle extreme abuse. We utilize advanced engineering to ensure the structure of the wheel can take a hit. But the wheel is part of a system.
If the lug nuts aren’t torqued correctly, you risk a few different failures:
- Wheel Off: This is the nightmare scenario. The nuts back off, the studs shear, and your wheel creates its own path down the mountain while your rotor buries itself in the dirt.
- Stud Failure: Over-torquing stretches the studs beyond their yield point. They might hold fine in the driveway, but the first time you hit a hard obstacle, the shock load snaps the weakened metal.
- Warped Rotors: If you tighten your lug nuts unevenly (some tight, some loose), you apply uneven pressure to the brake rotor. As the rotor heats up, it warps, leading to pulsing brakes and reduced stopping power.
- Wheel Damage: If a wheel is loose, it will wobble slightly on the studs. This “wallowing” creates oval-shaped holes in the wheel mounting pad. Once that happens, the wheel is ruined and safe clamping force becomes impossible.
The R.I.S.T Method - The Gold Standard for Proper Wheel Installation
So, how do you guarantee you are doing it right? The tire industry uses an acronym called R.I.S.T. It’s simple, easy to remember, and it covers all the bases for a safe install.
At Vortek, we recommend following this procedure every single time you take a wheel off.
R – Remove Debris
This is the step most people skip. You need to remove rust, dirt, and corrosion from the mounting surfaces. This means cleaning the face of the hub on your vehicle and the back mounting pad of the wheel.
Why? Because torque wrenches measure resistance. If there is a chunk of rust or grit sandwiched between the wheel and the hub, your torque wrench might click, telling you it’s tight. But as you drive, that rust crumbles and falls out. Suddenly, you have a gap. That gap means zero clamping force, and your wheel is loose.
Use a wire brush to scrub the hub face and the wheel studs. It should be clean metal on clean metal.
I – Inspect Components
Before you throw the wheel on, look at your hardware.
Check the threads on your studs. Are they stripped? Are they stretched?
Check your lug nuts. Is the cone seat (the part that touches the wheel) smooth and clean?
Check the wheel itself. Is the mounting face flat?
If you see damaged threads or rusty, pitted lug nuts, replace them. Never trust your safety to a $2 bolt that looks sketchy.
S – Snug the Lug Nuts
Place the wheel on the hub. Hand-thread all the lug nuts to ensure you aren’t cross-threading them.
Now, use your socket or tire iron to “snug” them down. Do not crank on them yet. You just want to seat the wheel against the hub so it isn’t wobbling.
Crucially, you must tighten them in a Star Pattern (or Criss-Cross pattern).
- 5-Lug: Skip one, hit the next. Imagine drawing a star.
- 6-Lug: Go across to the opposite nut (12 o’clock, then 6 o’clock), then move to the next pair.
- 8-Lug: Similar to 6-lug, always working across the center.
Tightening in a star pattern ensures the wheel seats evenly. If you just go in a circle (1, 2, 3, 4), you might pinch the wheel on one side, leaving the other side slightly lifted.
T – Torque to Specification
Now, lower the vehicle until the tire just touches the ground (enough to stop it from spinning, but not supporting the full weight of the truck yet).
Set your torque wrench to the manufacturer’s specification. This is usually found in your vehicle owner’s manual. For most trucks and Jeeps, it ranges between 90 ft-lbs to 140 ft-lbs, but you need to check your specific number.
Using the same star pattern, tighten each nut until the wrench clicks. Do not double-click or jerk the wrench. A smooth, steady pull until you hear/feel the click is all you need.
Step-by-Step Installation Process
Let’s put it all together into a workflow you can follow in your garage.
- Park Safely: Park on a level, hard surface. Engage the parking brake.
- Chock the Wheels: Put blocks behind the tires you aren’t lifting so the truck doesn’t roll.
- Loosen Lugs: Break the lug nuts loose while the tire is still on the ground (don’t remove them yet).
- Lift and Support: Jack up the vehicle and – this is non-negotiable – place it on jack stands. Never work on a vehicle supported only by a hydraulic jack.
- Remove Old Wheel: Take off the lugs and the old wheel.
- Clean (The ‘R’ in RIST): Wire brush the studs and hub face.
- Test Fit: If these are new wheels, test fit one on the front and rear to ensure brake clearance and suspension clearance before mounting tires (if you bought them separately).
- Mount Vortek Wheel: Slide the new wheel on.
- Hand Thread Lugs: Spin them on by hand to prevent cross-threading.
- Snug in Star Pattern: Use a ratchet to get them snug.
- Lower Partially: Drop the jack until the tire grips the pavement.
- Final Torque: Use your torque wrench in a star pattern to hit the spec.
- Full Drop: Lower the vehicle completely.
Why Proper Wheel Installation Matters Off the Trail
We focus a lot on the trail because that’s where the fun happens, but you have to drive home, too.
On the highway, an improperly installed wheel is arguably even more dangerous. At 65 or 70 MPH, a slight vibration from an off-center wheel or uneven torque can make the vehicle difficult to control.
Furthermore, the heat cycles from highway driving (braking heat, tire friction) cause metals to expand and contract. If your torque wasn’t accurate to begin with, these thermal cycles can accelerate the loosening process.
We want you to have a smooth, vibration-free ride on the pavement so you are fresh and ready when you hit the dirt. That starts with how you bolt the wheels on.
Common Installation Mistakes to Avoid
1. Using Impact Guns for Final Tightening
We love air tools for taking wheels off, but please put the impact gun away for the final tightening. The “Ugga Dugga” method is not a measurement. Impact guns are wildly inaccurate; one nut might be tight while the next is barely seated. Always do your final tightening by hand with a calibrated torque wrench.
2. Skipping the Re-Torque
This is the golden rule: Re-torque after 50 to 100 miles. New aluminum wheels settle against the steel hub, causing clamping force to drop slightly after the first drive. If you skip this step, you are gambling with your safety. Set a reminder on your phone, drive 50 miles, and check every single nut.
3. Ignoring Hub-Centric Fitment
If there is a gap between the wheel’s center hole and your vehicle’s hub, the wheel relies entirely on the lugs to stay centered. This often leads to annoying highway vibration. Check if your setup requires hub-centric rings to fill that gap and ensure a smooth ride.
4. Not Cleaning the Mounting Surface
Bolting a new Vortek wheel over a chunk of dried mud or a ridge of rust is a recipe for disaster. As you drive, that debris crumbles, leaving a gap that loosens the wheel. Take the time to wire brush the hub until it’s clean metal.
5. Mixing Old or Wrong Hardware
Don’t ruin the safety of your new wheels by using rusted, swollen factory lug nuts. More importantly, ensure the “seat” type matches. Vortek wheels typically use a conical (tapered) seat. If you try to use a flat washer-style or ball-seat lug nut, it simply won’t hold. Match your hardware to the wheel.
Tools You Need for a Safe, Trail-Ready Installation
You don’t need a professional shop to do this, but you do need the right tools.
- Torque Wrench: A 1/2-inch drive “click style” torque wrench is essential. You can get a decent one at any hardware store. Treat it like a precision instrument – don’t drop it, and always unwind it to the lowest setting when you store it.
- Breaker Bar: For loosening tight bolts. Don’t use your torque wrench to loosen bolts; it messes up the calibration.
- Proper Sockets: Use a socket that fits your lug nuts tight. Ideally, use a “thin wall” socket with a plastic sleeve to protect the finish of your new wheels from scratches.
- Wire Brush: For cleaning the hub.
- Jack and Jack Stands: For lifting and supporting safely.
After-Installation Pro Tips for Off-Road Drivers
- How Often to Check Torque:
You wouldn’t go 20,000 miles without checking your oil, right? Treat your wheels with the same respect. A good rule of thumb is to check your torque every time you rotate your tires (usually every 5,000 miles). If you wheel hard every weekend, bump that schedule up. It takes two minutes in the driveway, but it guarantees peace of mind.
- What Vibration Symptoms to Watch For:
Your truck talks to you; you just have to listen. If you suddenly feel a shimmy in the steering wheel at highway speeds, or if you feel a vibration through the seat of your pants that wasn’t there yesterday, don’t ignore it. That is often the first warning sign that a wheel has settled or a lug nut has backed off. Pull over safely and check it immediately.
- Seasonal and Temperature-Based Rechecks:
Science lesson: metal expands when it gets hot and shrinks when it gets cold. If you installed your wheels in the blistering heat of July, and now it’s a freezing January morning, that thermal contraction can slightly loosen your hardware. We recommend doing a quick “seasonal check” whenever the weather drastically shifts from hot to cold (or vice versa).
- Preparing for Long Trail Trips:
Heading out for a week-long expedition to Moab or the Rubicon? Make a “torque check” part of your pre-flight ritual. Don’t let a loose nut be the reason you are fixing your rig on the side of the highway instead of hitting the trail. And pro tip: pack your torque wrench. Having it in your recovery gear means you can check things mid-trip after a particularly brutal day of rock crawling.
Final Thoughts - Torque It Right, Trail with Confidence
Installing your new Vortek wheels is the final step in your build transformation, but it’s the first step in your safety plan.
We engineer our wheels to be rugged, aggressive, and durable. We build them to survive the toughest environments you can find. But we need you to do your part to ensure they stay attached to your rig.
Take your time. Clean the surfaces. Use a torque wrench. Follow the star pattern.
It might take an extra ten minutes to do it by the book, but when you are miles from civilization, conquering a steep grade or navigating a washout, you’ll have the peace of mind knowing your rig is locked down and ready for anything.
Think Rugged. Torque it right. And we’ll see you on the trails.